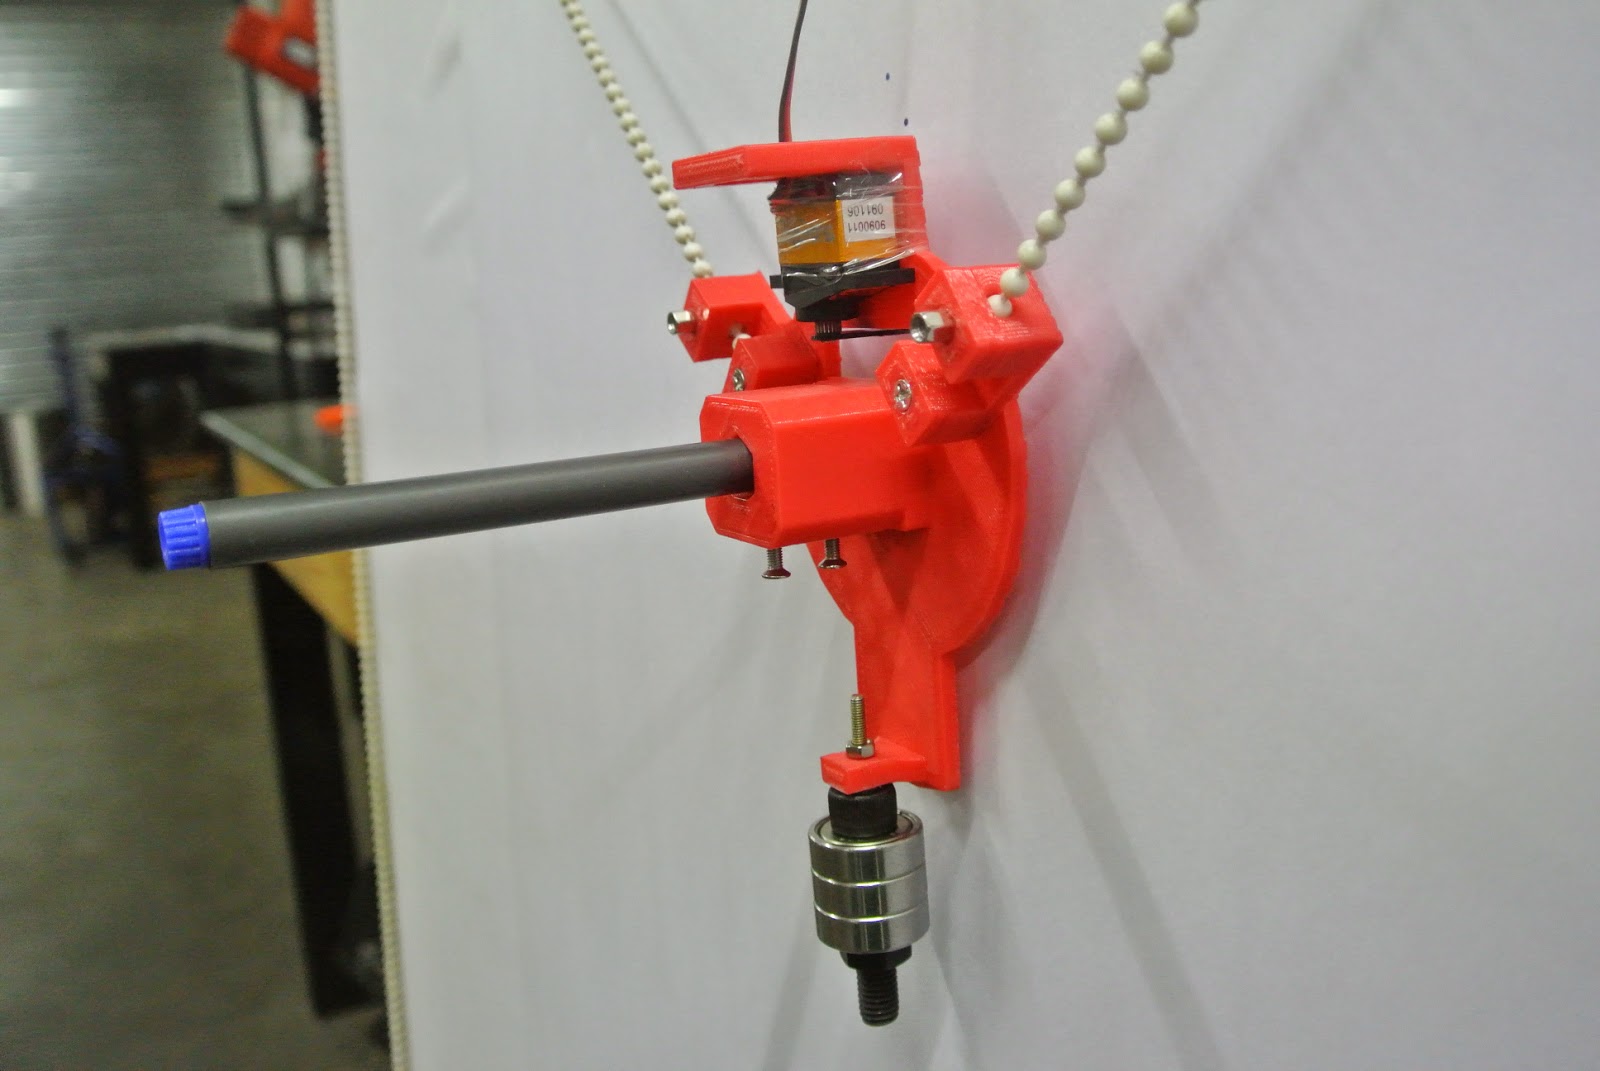
 A Plotter is what I decided to call this drawing machine that I made, but it also describes the output. The machine is a simple device, that draws picture using a normal pen, some motors and some string. It is only just good enough to get the job done, and in keeping with this technical brevity, I’m going to spare you more explanations about how it works.
- Basically one application that drives this machine from the computer is written in Processing. It decodes a bitmap and creates a map of the file using a polar coordinates system, recording pixel position.The hardware requests each pixel in turn, and renders it on the page using it’s own movement algorithms.
Initially, Let me clarify one thing : This blog is written with intention to help reader to make one's own plotter machine by own self.
This machine can be categorized into three sub section.
A) Software
B) Machine design
C) Electronic hardware
Each section is described as follow with great extent.
A) Software :
Controller is the software designed in Processing which helps to communicate with electronics through USB port of computer.
After downloading Controller from here, time to start this application.
- It looks like this: ( if problem in starting application)
C) Electronic hardware:
Eventually, Hardware for this can be designed from any controller having sufficient Flash memory with EEPROM. Arduino uno as controller is very convenient to use for plotter machine if one wants to put his leg in. So, To work with this, arduino IDE would be used to load controller by wiring program for plotter device.
This section described all important steps like: what could be the specification of components? how to load program in arduino? how to connect and wired up motors by avoiding heating? and finally testing of machine and its work in real time.
So start design of hardware,
- Circuit diagram
- Program(82KB) and how to load it in Arduino.
One can test machine prior to draw direct image using different pen move command in software.
So lastly, Plotter is ready to draw...
-THANK YOU.
Initially, Let me clarify one thing : This blog is written with intention to help reader to make one's own plotter machine by own self.
Shall we start without wasting time?
Firstly, One must be very much clear about flow and section of the design of machine.This machine can be categorized into three sub section.
A) Software
B) Machine design
C) Electronic hardware
Each section is described as follow with great extent.
A) Software :
Controller is the software designed in Processing which helps to communicate with electronics through USB port of computer.
After downloading Controller from here, time to start this application.
- It looks like this: ( if problem in starting application)
- Now you can grab it. (to know: how to use)
B) Machine design:
Before starting design, gathered up all the required components. Electronics components are also added with the same list for ease.
- List of components,source and their specifications.
Motor can be mount linearly on single wooden ply using motor mount as the beaded cord should be quite close to ply. Apply sprocket in shaft and hang Gondola using beaded cord. For testing purpose, Servo motor not necessary to install but in original drawing, it should be attached to lift pen up.
Gondola needed to be weighted to keep it in position as well as to remove flickering.
Eventually, Hardware for this can be designed from any controller having sufficient Flash memory with EEPROM. Arduino uno as controller is very convenient to use for plotter machine if one wants to put his leg in. So, To work with this, arduino IDE would be used to load controller by wiring program for plotter device.
This section described all important steps like: what could be the specification of components? how to load program in arduino? how to connect and wired up motors by avoiding heating? and finally testing of machine and its work in real time.
So start design of hardware,
- Circuit diagram
- Program(82KB) and how to load it in Arduino.
One can test machine prior to draw direct image using different pen move command in software.
So lastly, Plotter is ready to draw...
-THANK YOU.


Great project! I can't wait to try it out. How can I access the Circuit diagram?
ReplyDeleteYou can download it from the above link. There is also advance in this, you can ask me if you want more accuracy as well wireless connection in this. Thank you.
DeleteGreat project! Can i use this machine for complete my EG book?😂
ReplyDeleteI afraid you can't, For EG Book, you require units in mm whereas the motor drivers of this machine(in fact I used) are not capable to draw image as accurately in mm. You need to improve drivers of motor for 16 microsteps.
Delete